\ primo _ rig
form meets function, simplicity, and design
(we took this from somewhere, whatever).
shred the sky. go.
*this is some rationale for the layout based on testing, thinking, science, experience, and tons of iteration.
form meets function, simplicity, and design
(we took this from somewhere, whatever).
shred the sky. go.
*this is some rationale for the layout based on testing, thinking, science, experience, and tons of iteration.
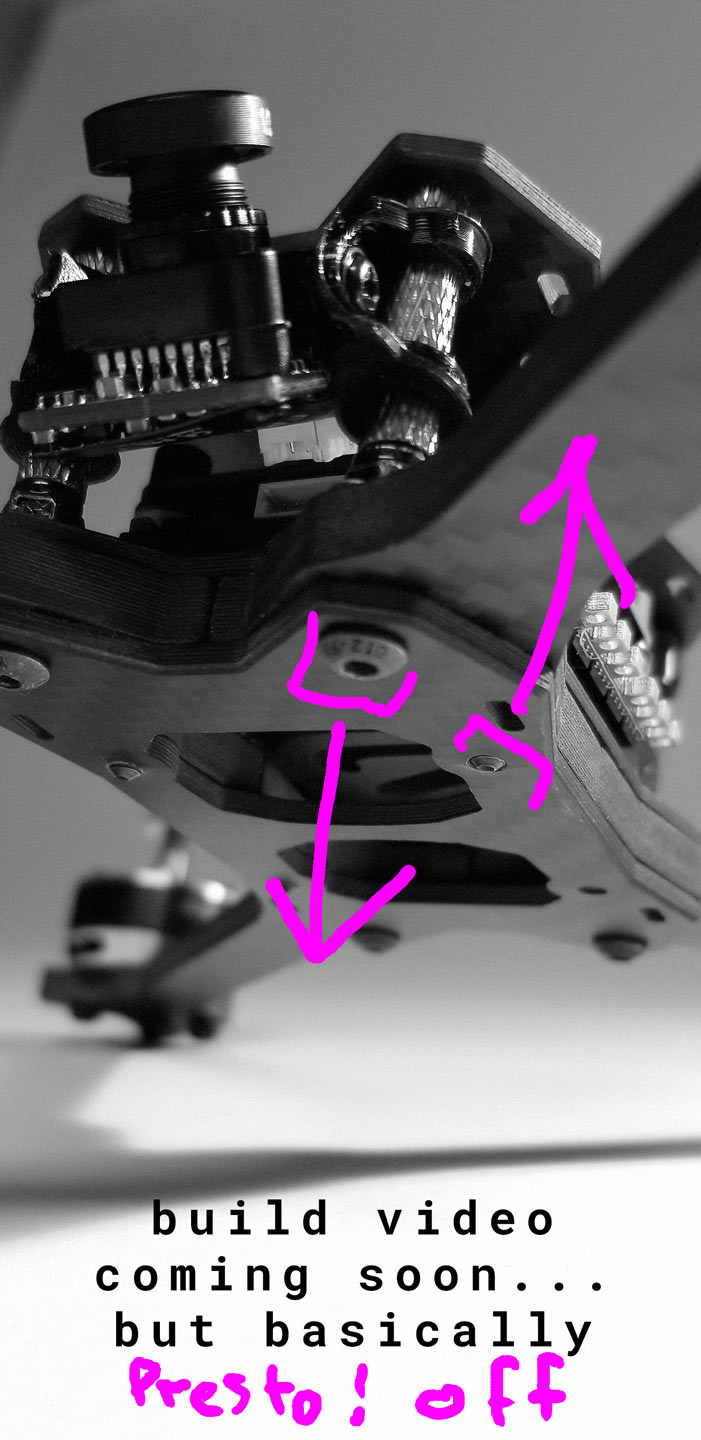
the build is not only advanced... it has its ways.
it's precision design needs a little prep work, check out this frame build video
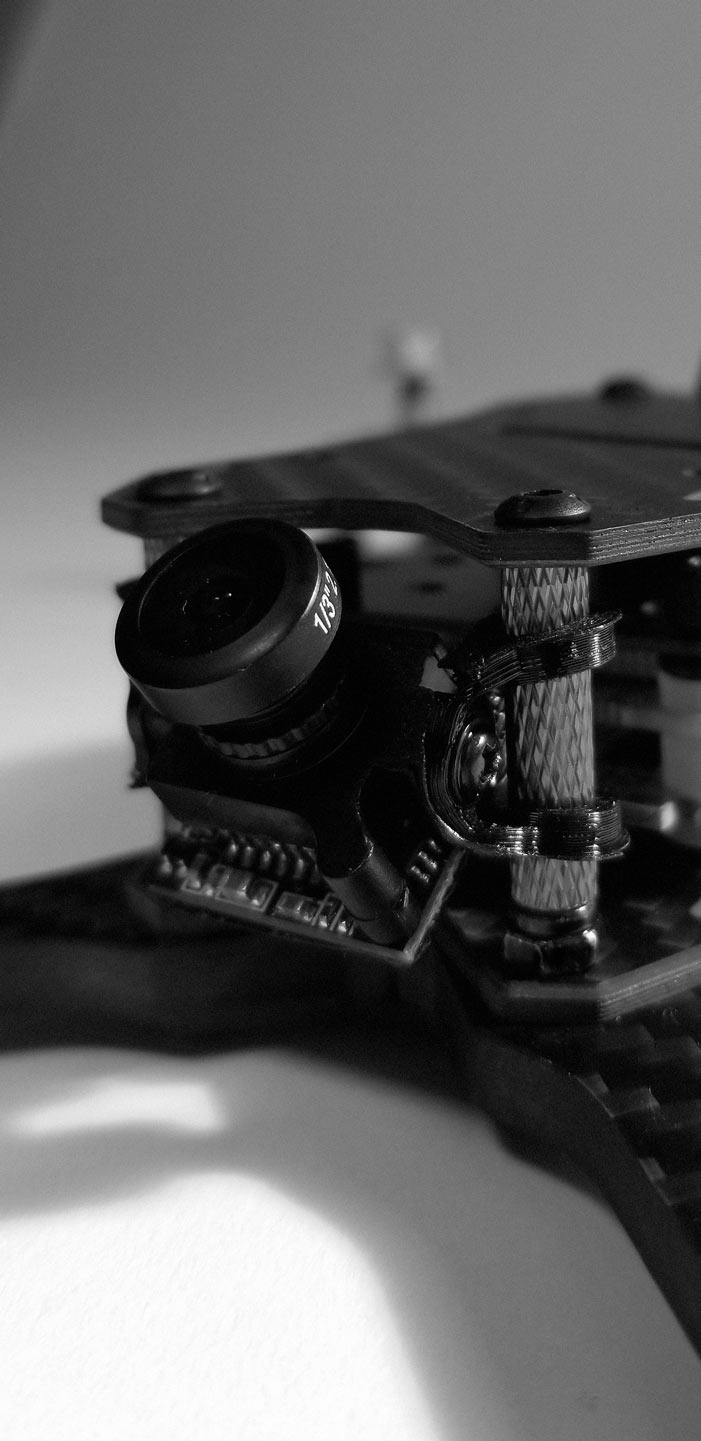
this rig is designed for the runcam micro and smaller only. the kit includes a micro mount only. why the micro?
because it is battle proven, smaller form factor, lighter… trust, bruv.
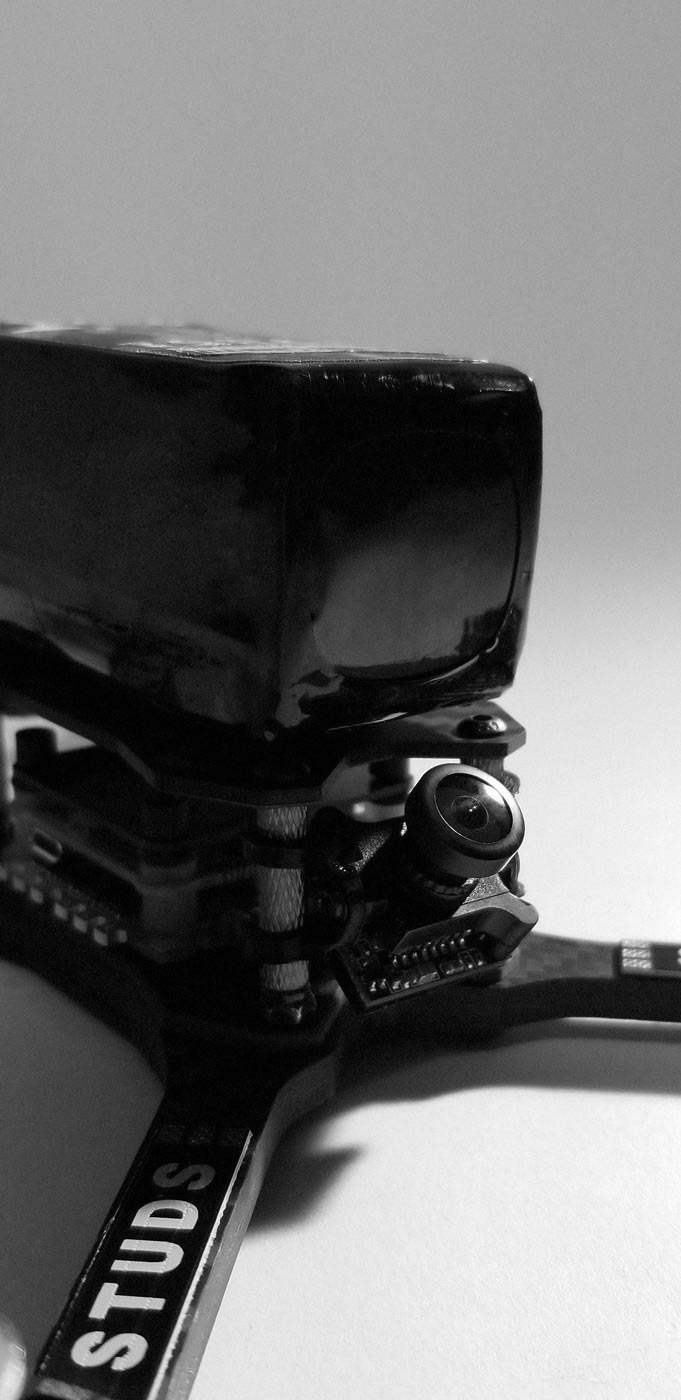
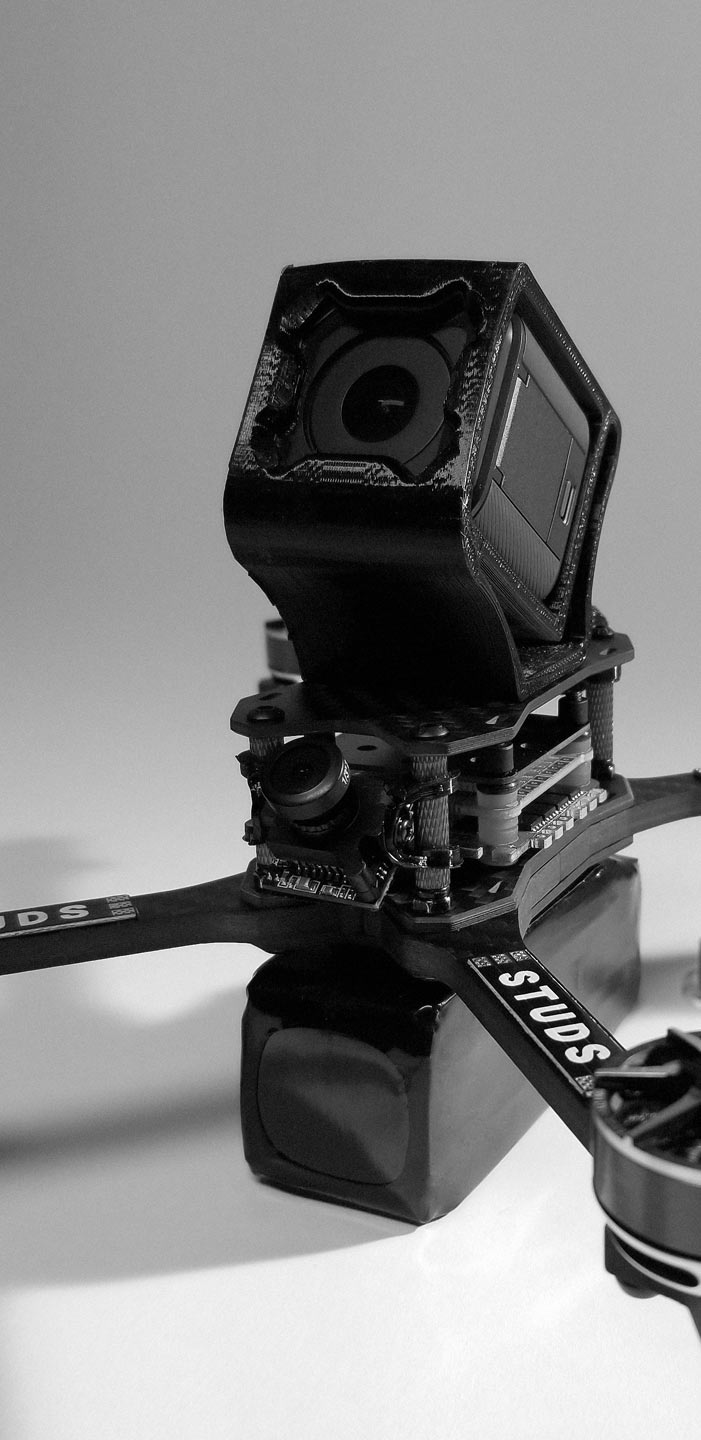
top mount lipo… it’s a cg thang. you must try it to feel it and feel it to believe it. you can still mount the lipo on the bottom if you have an hd cam on top. ea$y. Oh yeah... And if you need to invert the build for better CG, you can do that too. No extra hardware needed. Real true story, bro.
the plate widths are designed to be flush with most gopro session 3d printed holders. mount it. shoot it. crash it. repeat. thanks best buy.
put the rx on the bottom payload area for easy access, isolation, protection, love, affection, ere.....
the rx antennas are best on the back arms with the zip ties and heat shrink. mount them pointed away in the direction of your prop spin. feed the antenna out of the mid plate, not below the rig… or some chump will rear-end you and chop'em'. thanks a lot, bob.
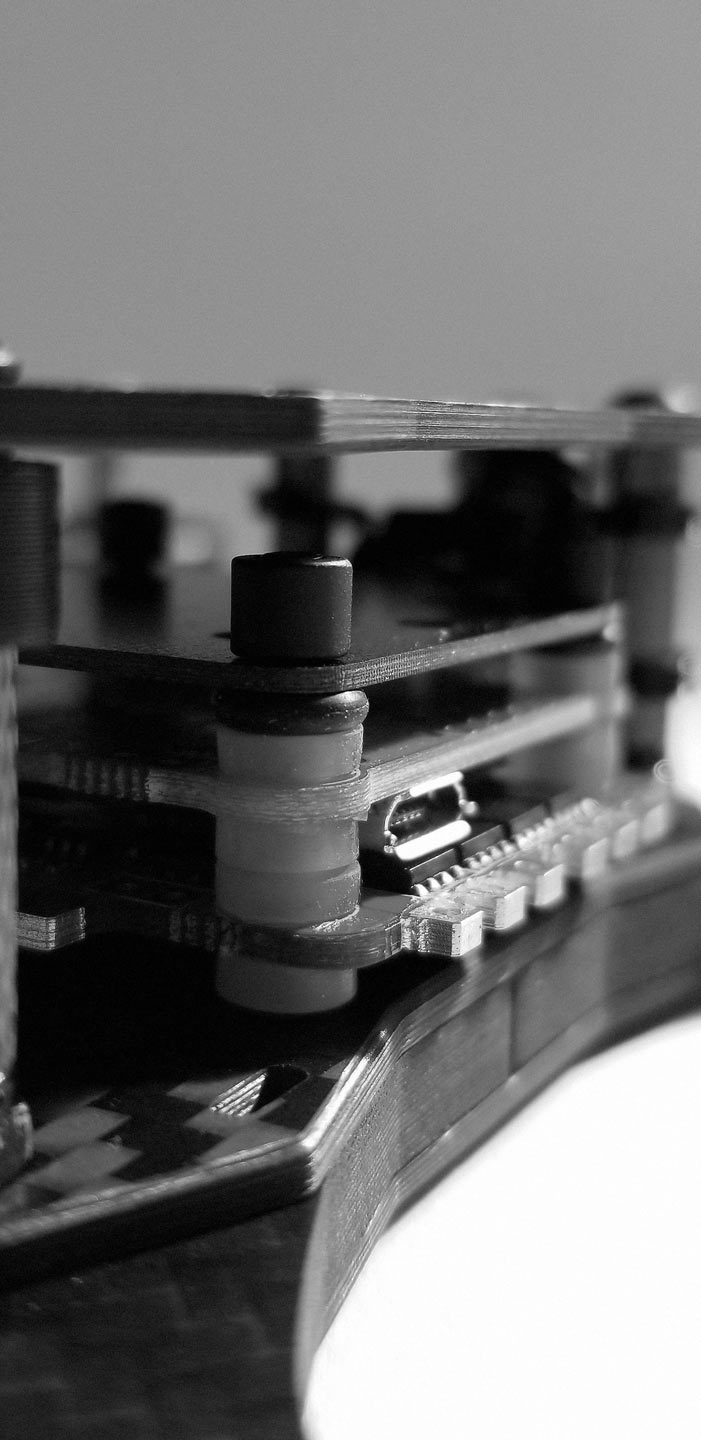
this is a minimal yet advanced build. you'll need spacers for the stack. gummies, rubber donuts, etc. and as you should already know... make sure there is spacing in between things and there is no touching and rubbing of components.
you can do it.
a 4-in-1 esc is recommended. why a 4-in-1 esc? it’s more than just having a minimal and clean build; that is an inherent benefit, but also... arm mounted escs break more easily and more importantly they block tons of thrust coming from your props. this rig is a balanced design for speed and resilience. to get the most out of your prop’s thrust we keep the arms thin, zero fat, but strong.
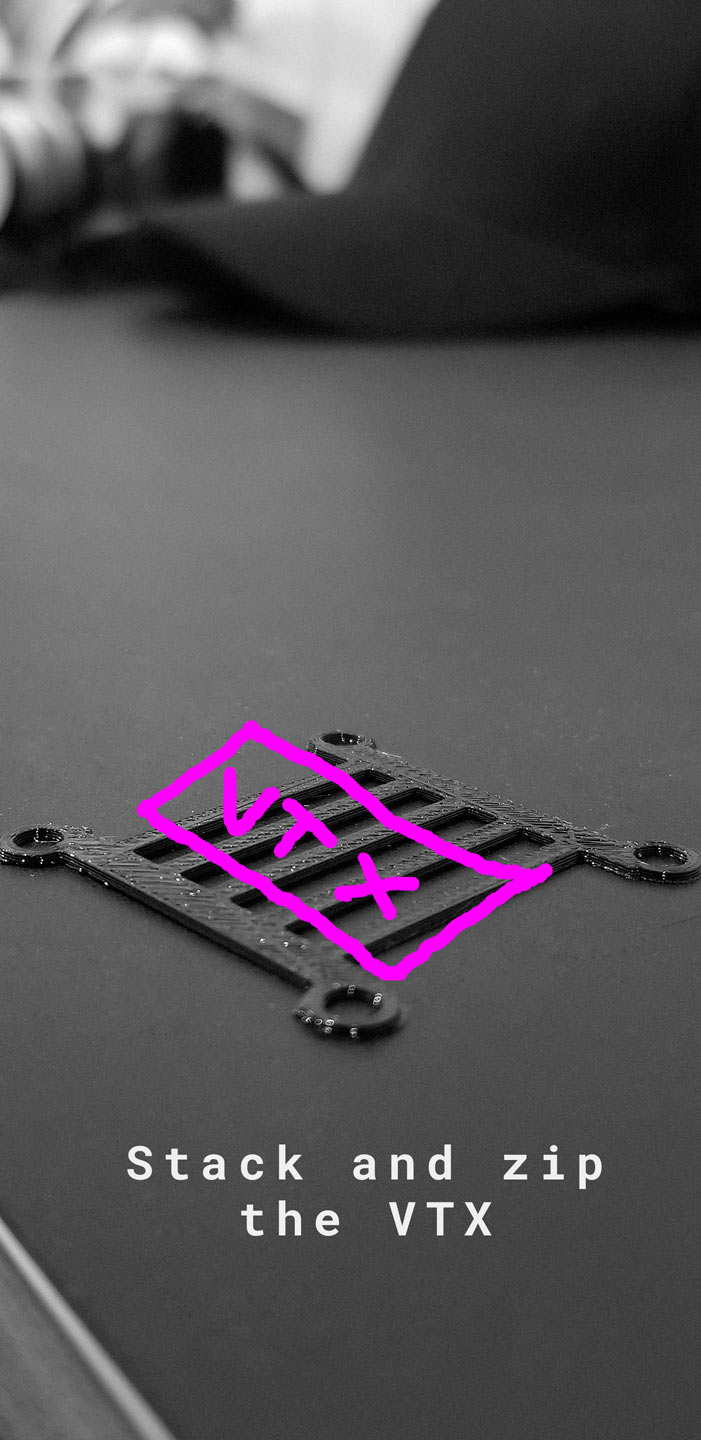
fc choice is yours, but thinner is better (same goes for the esc). this is so you have enough thread up top to stack your vtx too (this is how we do). use the vtx holder included in the kit unless you already have a dedicated one. you can zip tie your vtx to the vtx holder provided and stack it. this is optional of course.
special socket set screws are included for this build. again, another design decision to make pit repairs fast in the case an arm breaks. this screw goes through the bottom plate, arms, mid plate, and then used for the stack. if you need to replace an arm you won't have to remove the screw from the stack causing all of your spacers from going all over the place and finally falling into and disappearing in the grass, forever. instead you screw the socket set screw upward until you are able to remove the arm. ))<>((
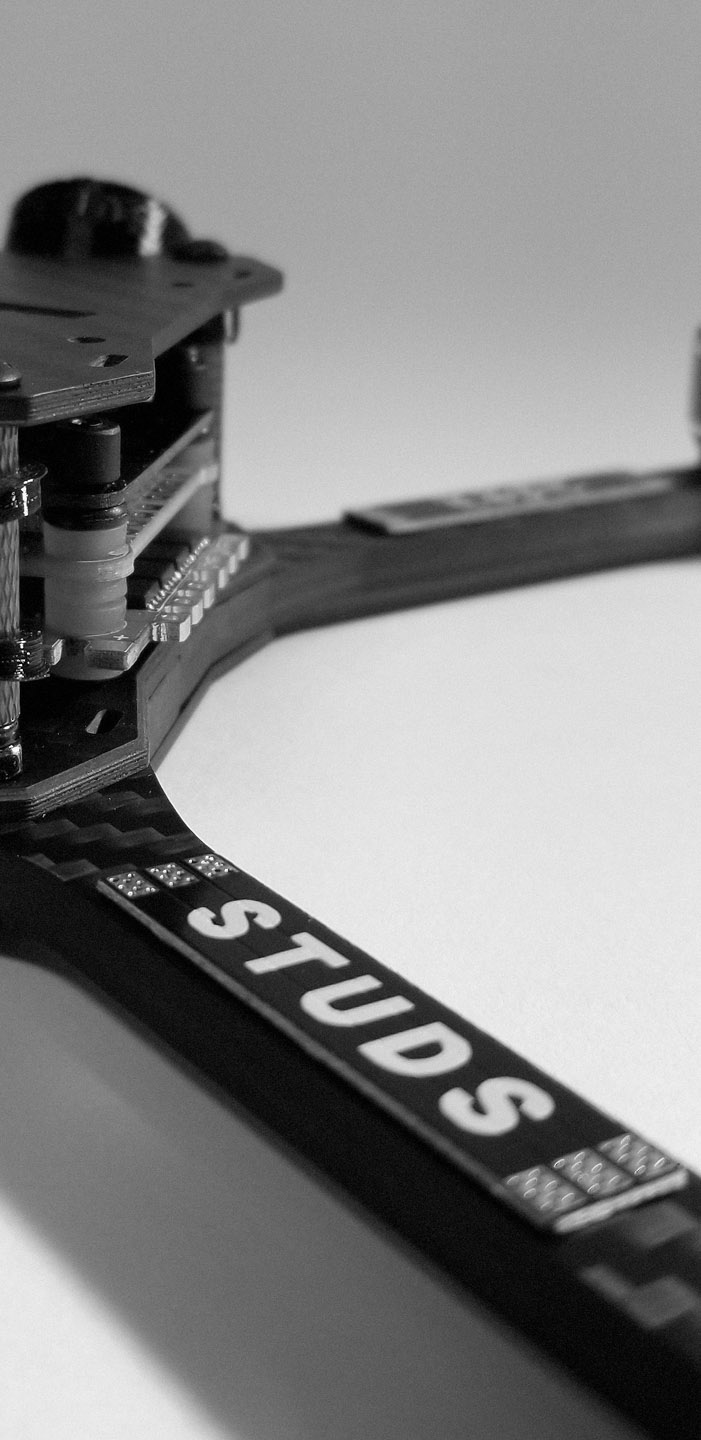
you probably guessed... another design decision intended for quick repairs, form, function, access, ease… and for people to look at your build and think, "that's clean.” these race wire boards will help prevent some prop strike too.
note: isolate the arms from the race wire pcbs on the bottom or risk 🔥. you've been warned.
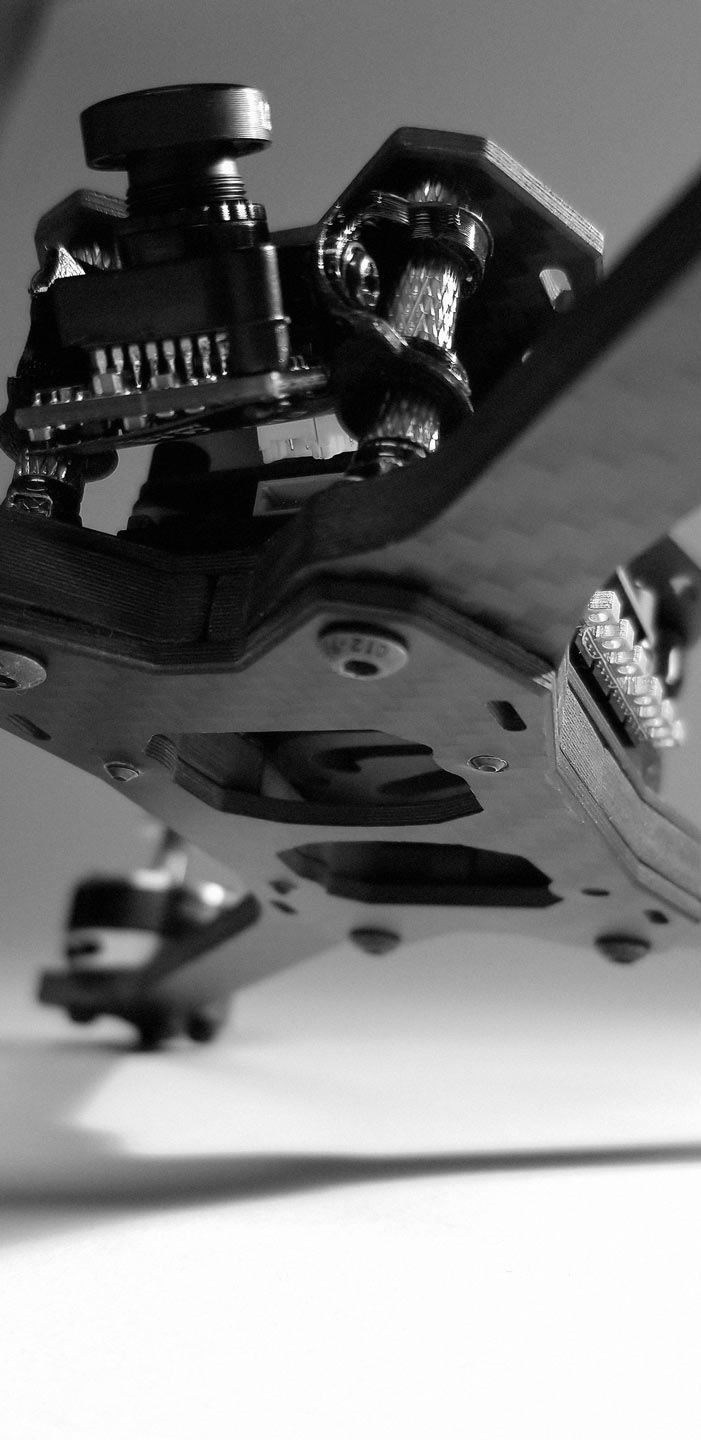
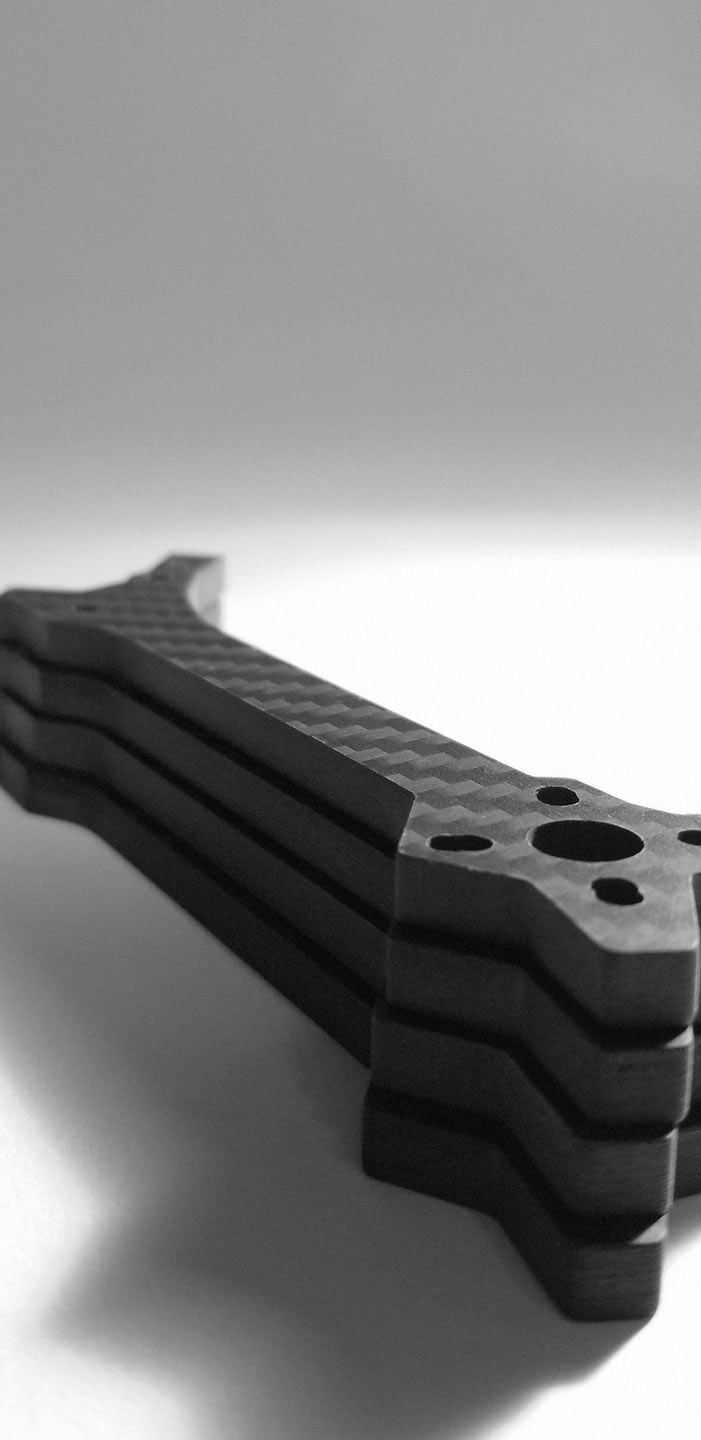
the arms are symmetrical… you can’t go wrong with how you place them. notice that they are not chamfered, it’s because we don’t want you attached to them. they're not precious. fly them hard, break them, everything… these arms are meant to take a beating. do it. enjoy.
the motors are offset? yeah, we know. thank you. now thank us for removing a weak point in traditional design. the nubs at the end of the arms are extended, but not obnoxiously… just enough to take the pain away from the motors in a vicious cartwheel... front, back, side to side. we got you.
same goes for the offsetting on the screw holes to the arms on the body… strength and impact transfer. you’re welcome.
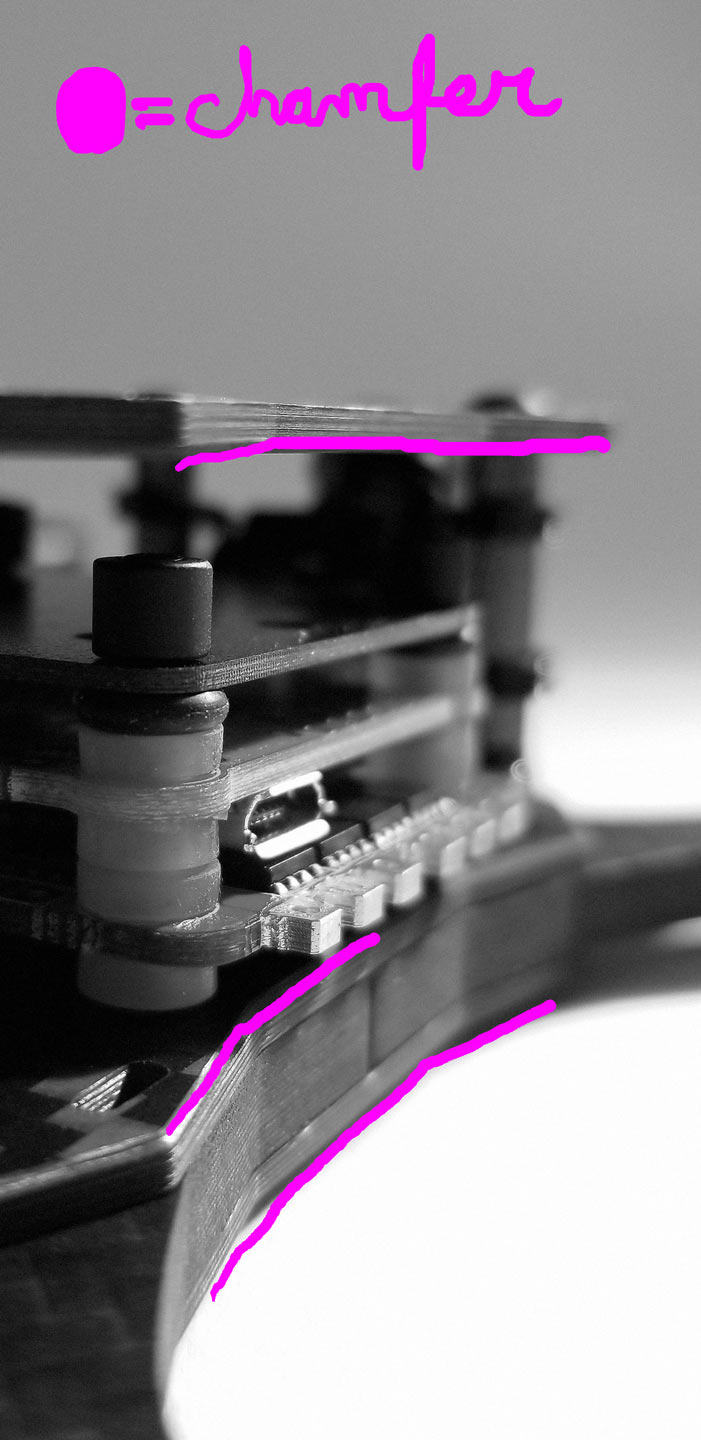
bottom and mid plate, keep the flat sides toward the arms and the rounded (chamfered) sides out. top plate, keep the rounded side toward the inside… this is where your lipo strap will touch the rounded cf side and keep it from ripping easily in a crash.
these plates look completely interchangeable, yes they are; however, some configurations are optimal.
additionally, the frame can be built inverted and regular to meet your CG preferences. the thinking behind this frame is:
1) easy access 2) interchangeability 3) more flight less fight
On a regular build these are the recommendations...
the bottom plate should be the open plate (()()). this is how you can put your rx in the payload area. why not have the open plate be the middle plate? do whatever you want, but this way you can see it’s status, swap it, kiss it, anything. this falls in line with the easy access philosophy, but a more closed bottom mid plate will offer more protection.
the middle plate ( S ) is awesome and while it would look sik as the top plate it performs best as the mid plate in some instances. the middle plate can be the barrier when your shit 4-in-1 catches fire.
“what do you mean when it catches fire!?”
what we mean is that this rig is for serious practice, racing, shredding, and tearing up the skies and land and obstacles and err thang! so, if you’ve never experienced a fire… lucky you, but if it happens this plate will partially protect your rx. hopefully. not guaranteed. but it will to some extent. maybe give you enough time to pee the fire out. nasty.
the top plate, (||||). the surface area on this top plate is good for using dual-lock on it. we recommend a top mount lipo with dual-lock. best balance and cg this way. no sliding either. again, do whatever you want… maybe you do want the ’s’ on top. more power to you… it does look sik after all. we approve this thinking… do use a gel pad (or something similar) in between this ’s’ plate and the lipo… the groove on the s will grip it nice and it’ll prevent slipping. the ‘/‘ as the mid plate will still function as a barrier and you can still get wires down to the rx.
Inverted build recommendations...
An inverted build is very similar; however, the rx payload area becomes enclosed by the top plate and the stack. It is also more suited for a nano sized-rx if you plan on using payload area for the rx. you'll have to plan your build accordingly.
take these recommendations as you will. nothing is prescriptive. nothing is precious. all is at your own risk. we do not take any responsibility for issues, damage, death, or anything that happens with your build. reap the glory on your own.
message us


